DIY Concrete Projects: What You Need to Know Before You Start


Understanding the Basics of Concrete
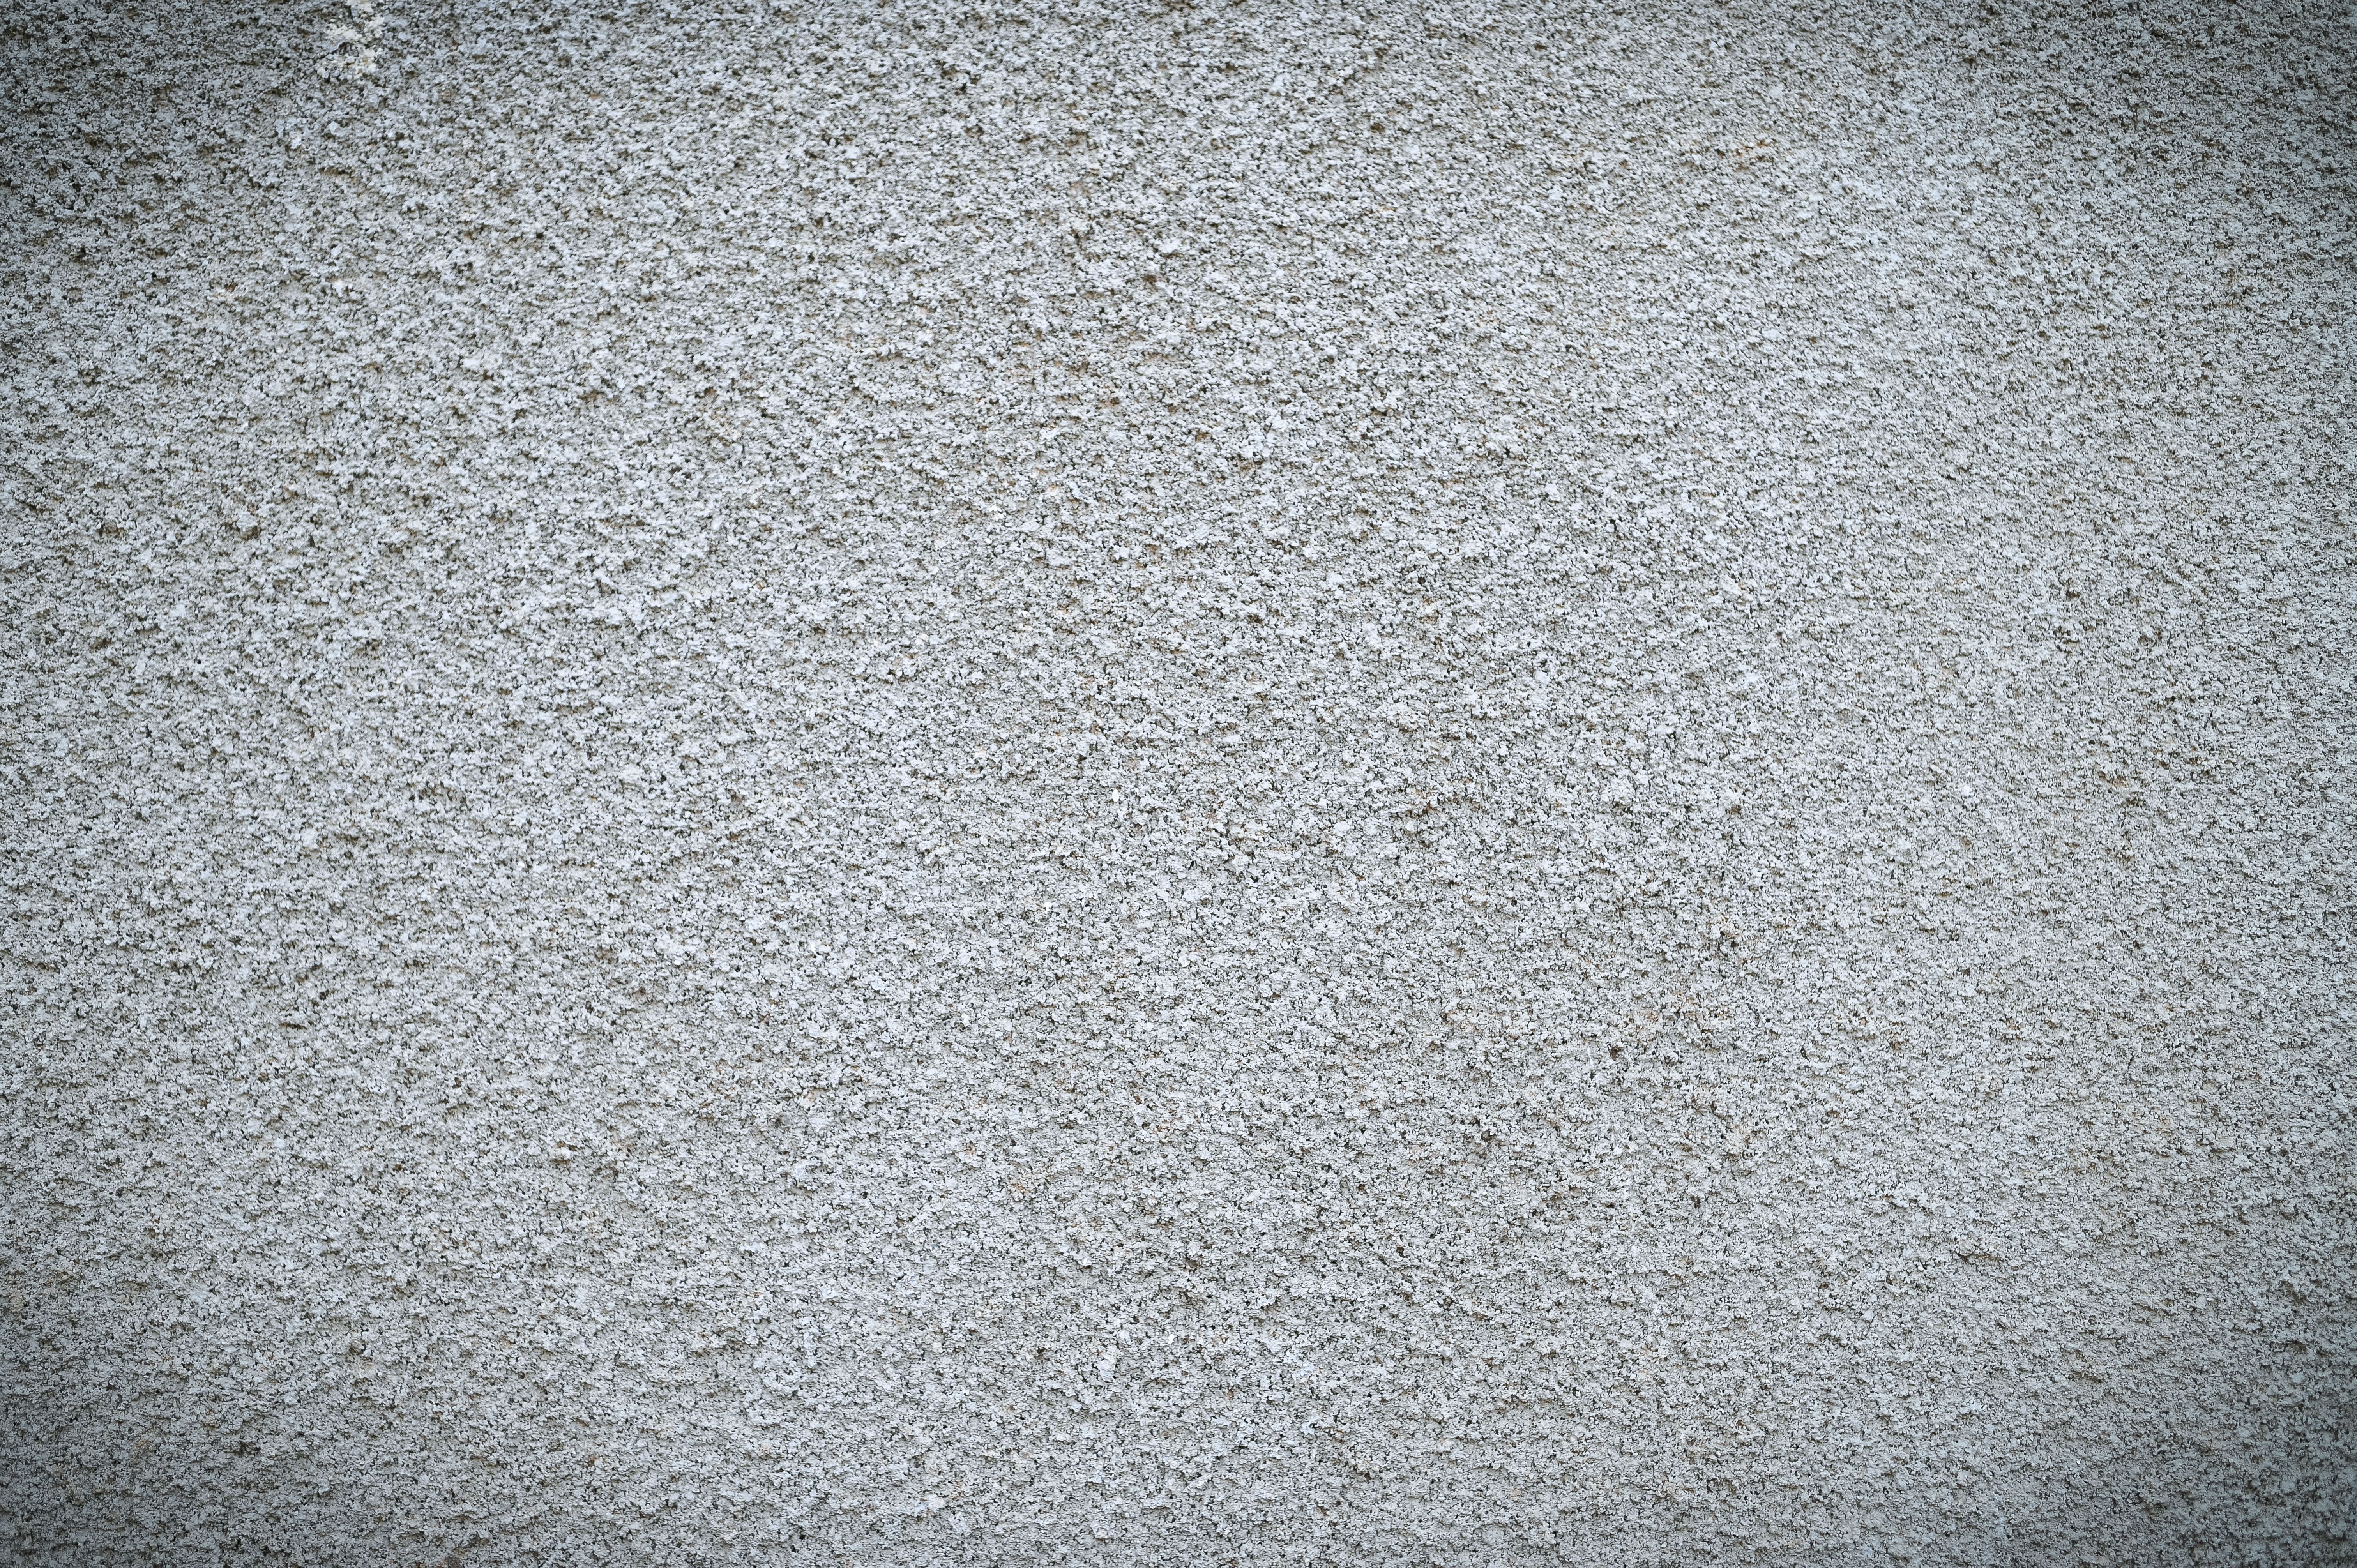
Before diving into any DIY concrete project, it's crucial to understand the basics of concrete itself. Concrete is a composite material made from a mixture of cement, water, and aggregates like sand and gravel. When these components are combined, they form a malleable paste that hardens over time, creating a durable and robust material. Knowing this foundational information helps you make informed decisions on how to mix, pour, and cure your concrete effectively.
Concrete's versatility makes it ideal for a wide range of projects, from simple garden planters to more complex countertops and flooring. However, achieving the desired result requires attention to detail in every step of the process. Ensuring you have the right mix consistency and proper curing conditions is key to a successful project.
Essential Tools and Materials
Equipping yourself with the right tools and materials is essential before starting any concrete project. Here’s a list of must-have items:
- Cement, sand, and gravel: These are the primary materials needed to create your concrete mix.
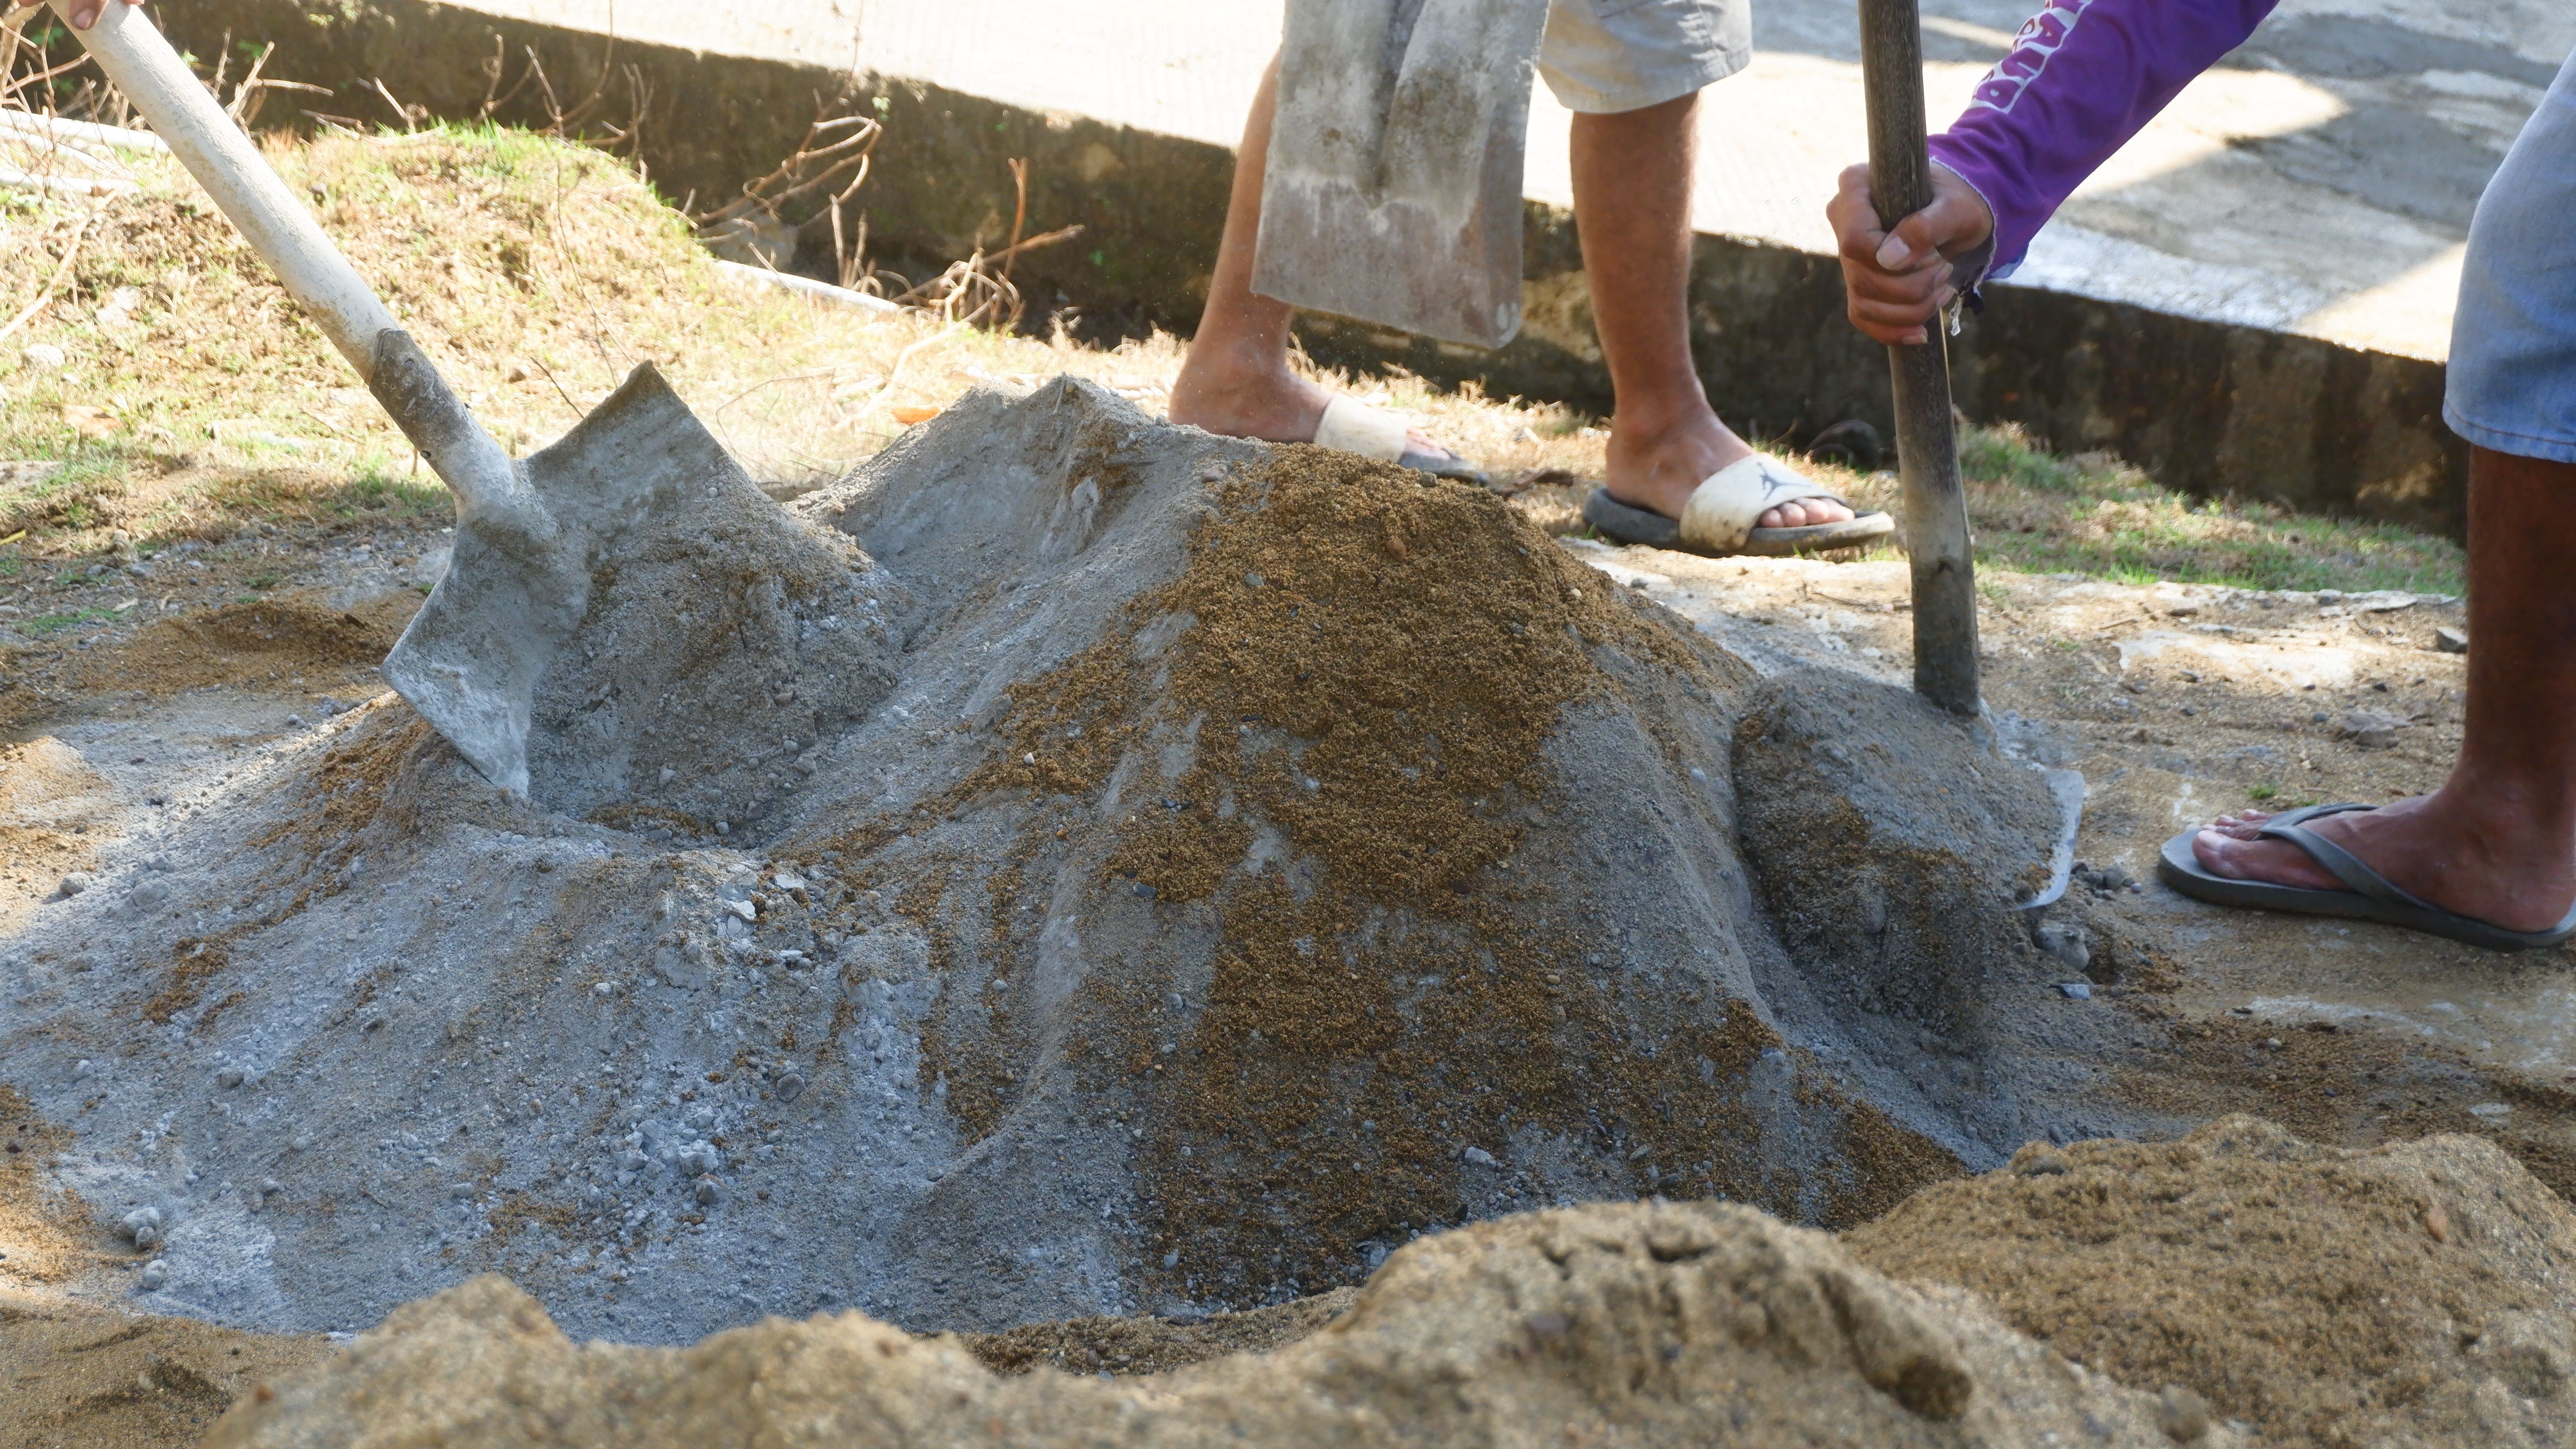
- Mixing tools: A wheelbarrow or mixing tray and a shovel or hoe are necessary for combining your materials.
- Measuring tools: Accurate measurements ensure the correct proportions of your mix.
- Protective gear: Safety goggles, gloves, and a mask protect you from dust and debris.
- Forms and molds: Depending on your project, you'll need molds to shape your concrete as it sets.
Having these tools at your disposal will streamline your project and enhance the quality of your final product.

Preparing Your Workspace
A well-prepared workspace is crucial for any successful DIY project. Before you begin mixing and pouring your concrete, ensure that your work area is clean and organized. Clear away any debris or clutter that might interfere with your work. Since concrete can be messy, it's advisable to cover surfaces that need protection with plastic sheeting or drop cloths.
Additionally, weather conditions can significantly affect the curing process. Ideally, you should work in dry conditions with moderate temperatures, as too much moisture or extreme temperatures can compromise the integrity of your concrete.

Mixing and Pouring Techniques
The success of your concrete project greatly depends on how well you mix and pour your concrete. Start by slowly adding water to your cement mixture while continuously stirring. Aim for a consistency that resembles thick oatmeal—neither too runny nor too dry. This balance ensures that your concrete is workable yet strong after it cures.
Once mixed, pour the concrete into your prepared forms or molds. Use a trowel or similar tool to spread the mixture evenly, ensuring there are no air pockets. Tap the sides of the mold gently to help any trapped air escape, which enhances the structural integrity of your project.
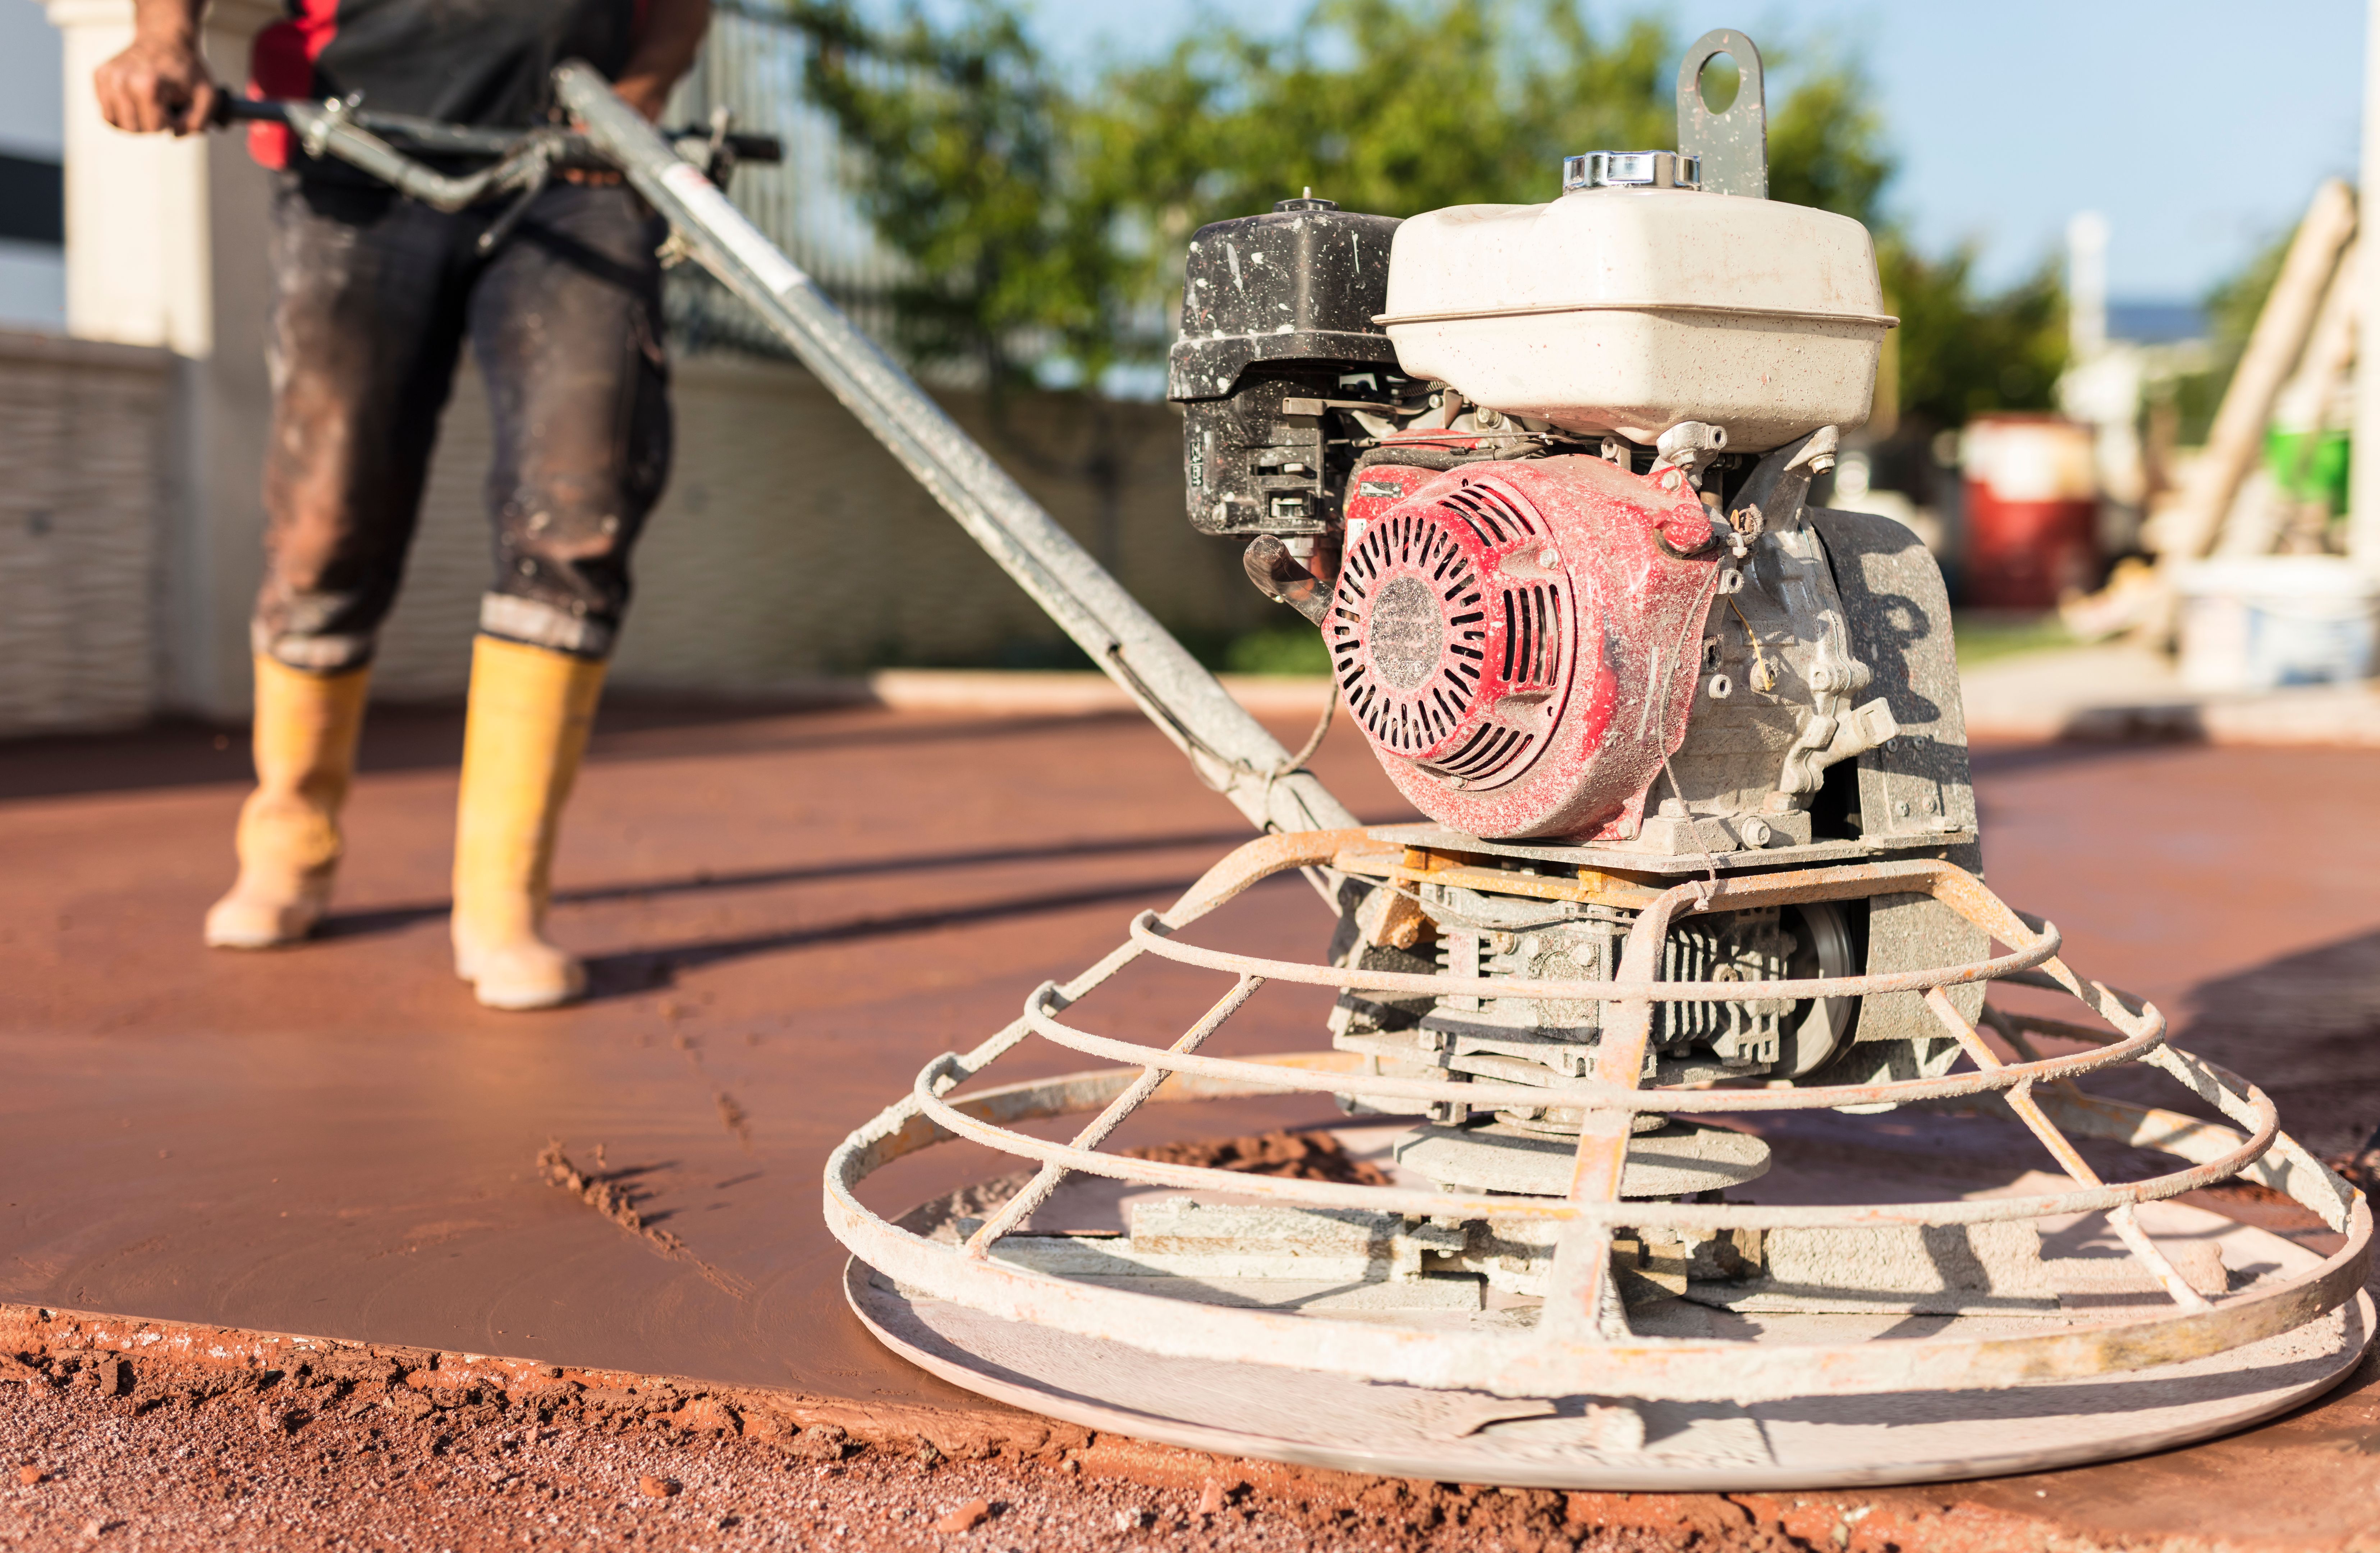
Curing Your Concrete
Curing is one of the most critical steps in any concrete project. Proper curing ensures that your concrete reaches its maximum strength and durability. Once you've poured and smoothed your concrete, cover it with plastic sheeting or damp burlap to retain moisture. This helps prevent cracking as the concrete dries gradually.
The curing process typically takes about 24-48 hours for initial setting; however, full curing can extend up to 28 days. During this time, try to maintain a consistent temperature and protect your project from heavy rain or direct sunlight.
Avoiding Common Mistakes
Even with careful planning, mistakes can happen. Here are some common pitfalls to avoid:
- Incorrect mix ratio: Follow recommended proportions closely to ensure strength and durability.
- Poor timing: Make sure to work efficiently as concrete begins to set quickly.
- Ignoring safety: Always wear protective gear to avoid injuries from dust and sharp tools.
Avoiding these mistakes will save time and resources while ensuring a successful outcome for your project.
Final Touches and Maintenance
Once your concrete has fully cured, you can add final touches like sealing or staining to enhance its appearance and longevity. Sealing the surface adds a protective layer against stains and moisture, while staining can give your project a unique look with various color options.
Regular maintenance is also important. Clean your concrete surfaces periodically with mild detergent and water to keep them looking new. For outdoor projects, reapply sealant every few years to preserve their condition against weather elements.
Get Inspired and Start Creating
With these essential tips in mind, you're ready to embark on your DIY concrete journey. Whether you're building planters, countertops, or decorative pieces, understanding the fundamentals of working with concrete opens up endless creative possibilities. Remember to plan carefully, work safely, and have fun bringing your ideas to life!