A Step-by-Step Guide to DIY Sidewalk Repairs in Alberta


Understanding the Basics of Sidewalk Repairs
Sidewalk repairs can seem daunting, but with a little guidance, you can tackle this project yourself, even in Alberta's unique climate. Whether you're dealing with cracks, uneven surfaces, or general wear and tear, addressing these issues promptly can prevent further damage and enhance your property's curb appeal.
Before diving into repairs, it's essential to understand the cause of the damage. Common causes include soil movement, freeze-thaw cycles, and heavy foot traffic. Identifying the root cause will help determine the best repair method and materials needed for a successful DIY project.
Gathering the Necessary Tools and Materials
Equipping yourself with the right tools is crucial for efficient sidewalk repairs. Here's a list to get you started:
- Safety goggles and gloves
- Concrete mix
- Trowel and concrete float
- Concrete saw (for larger repairs)
- Pressure washer or stiff-bristle brush
- Measuring tape and level
Having these tools on hand will streamline your repair process and ensure you achieve a professional finish.
Preparing the Area for Repair
Proper preparation is key to a successful sidewalk repair. Begin by cleaning the damaged area thoroughly. Use a pressure washer or a stiff-bristle brush to remove dirt, debris, and loose concrete. Cleaning ensures that the new concrete adheres properly to the existing surface.
Next, outline the area requiring repair. If you're dealing with cracks, use a chisel and hammer to widen them slightly, creating a V-shape that will better hold the new concrete. For larger repairs, consider using a concrete saw to cut out the damaged section completely.
Mixing and Applying New Concrete
Once the area is prepped, it's time to mix your concrete. Follow the instructions on your concrete mix package carefully, ensuring a consistent texture. If you're unsure about the mix ratio, consult an expert at your local hardware store.
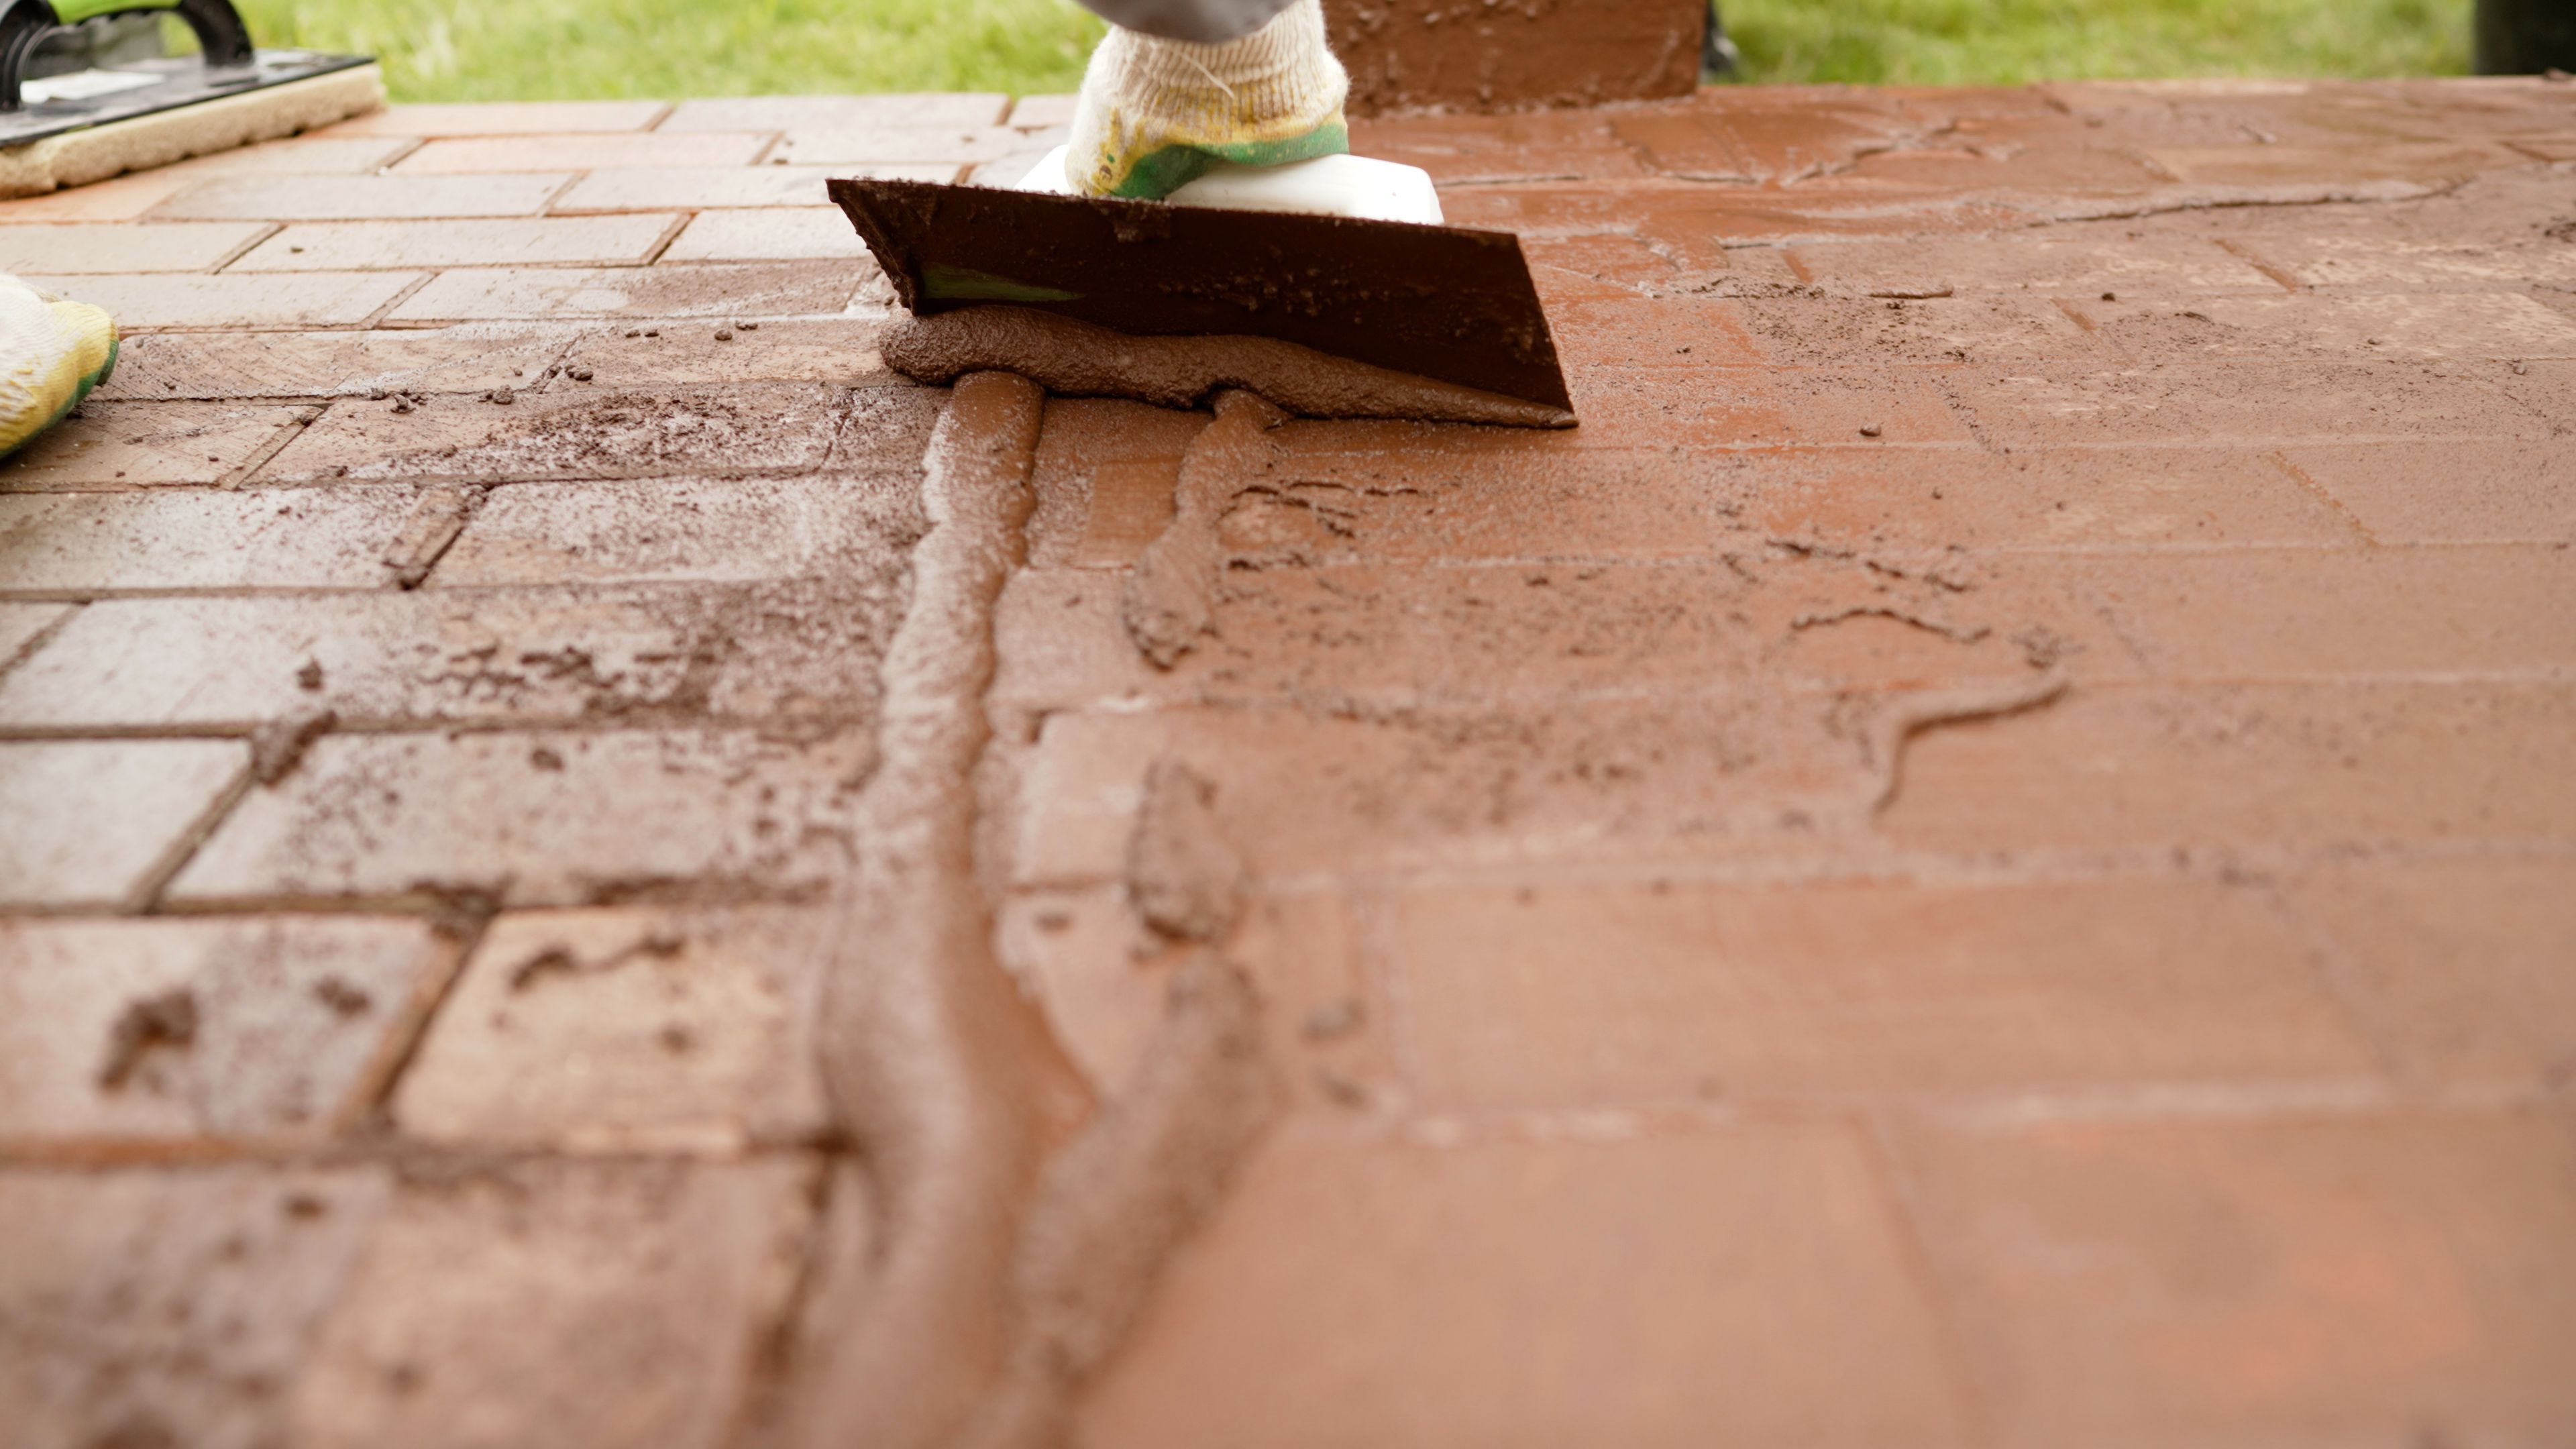
With your mix ready, use a trowel to fill in the cracks or apply it to the cut-out sections. Ensure an even spread by using a concrete float. Smooth out the surface to match the surrounding sidewalk. Pay attention to detail here as it impacts the overall appearance once dried.
Curing and Finishing Touches
Curing is a crucial step that shouldn't be overlooked. Allow the repaired section to cure according to the concrete mix's instructions. Typically, this involves keeping the area moist for several days to prevent cracking due to rapid drying.
After curing, inspect your work for any imperfections or areas that may require additional smoothing or patching. A well-cured sidewalk not only looks good but also withstands Alberta's harsh weather conditions more effectively.
Maintaining Your Sidewalk
Regular maintenance is essential to prolong the life of your sidewalk repairs. Consider sealing the concrete annually to protect it from moisture and de-icing salts. Additionally, keep an eye out for new cracks or signs of wear, addressing them promptly to avoid larger issues.
By following these steps and committing to regular upkeep, you can ensure that your DIY sidewalk repairs remain durable and visually appealing for years to come.